
Floating Shelf Without Power Tools: Easy Step-by-Step DIY Guide
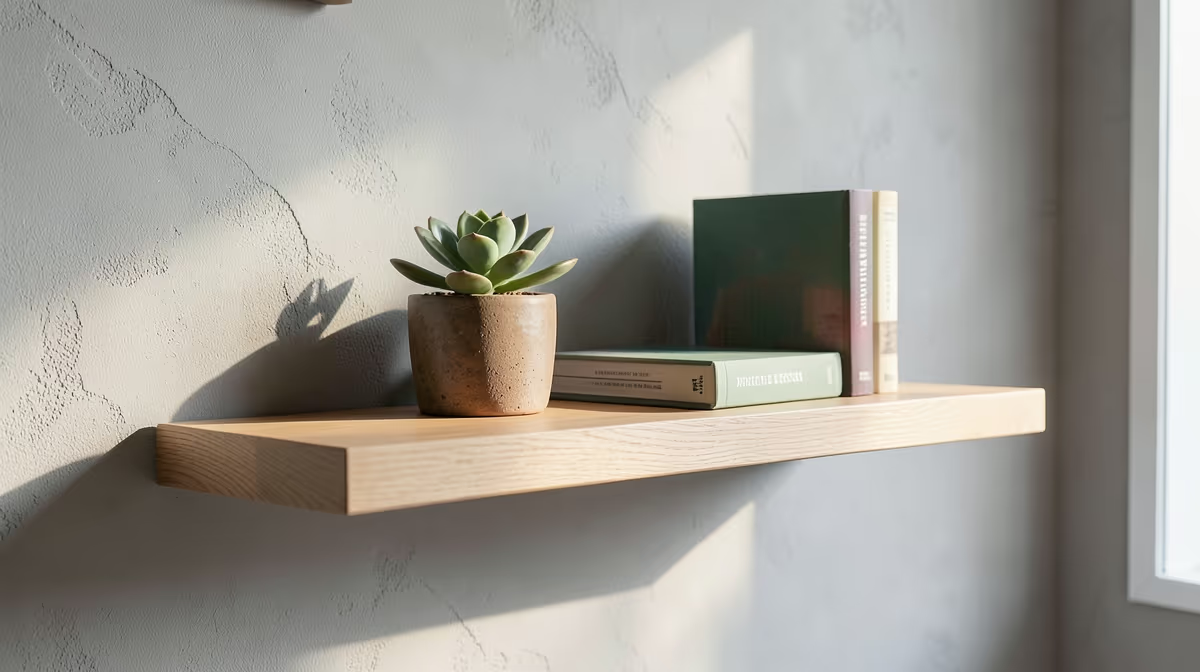
Adding stylish storage to your home does not require an expensive workshop or loud machinery. You can build and mount a beautiful, sturdy floating shelf without power tools using only basic hand tools and clever material choices. By leveraging free wood-cutting services at your local hardware store and using manual fastening techniques, you can achieve a professional, minimalist look with minimal mess.
Building a floating shelf without power tools is highly achievable by assembling a lightweight hollow box with wood glue and finishing nails, then mounting it using manual drywall anchors or wall studs.
Essential Tools and Materials
To make this project as simple as possible, you will want to buy pre-cut lumber directly from your local hardware store. Most major home improvement centers will cut boards to your exact length specifications for free or for a very small fee per cut. This completely eliminates the need to own or use a hand saw at home.
Here is the exact list of what you need to gather:
- Pre-cut wood boards (typically 1x6 or 1x4 common board for the top, bottom, and front face)
- Wood glue (high-quality PVA wood glue)
- Finishing nails (1.5-inch and 2-inch)
- Claw hammer
- Sanding block (medium 120-grit and fine 220-grit sandpaper)
- Manual Phillips screwdriver
- Self-drilling drywall anchors (specifically designed for manual installation)
- Spirit level (bubble level)
- Measuring tape and pencil
Step-by-Step Assembly Instructions
Building the shelf involves constructing a hollow wooden sleeve that slides over a wooden support block (the cleat) mounted to the wall. This classic interlocking design hides all the wall fasteners, creating the seamless illusion that the shelf is floating.
- Prepare the wood pieces: You will need a top board, a bottom board, a front face plate, and two small end caps. Ensure all pieces are wiped completely clean of sawdust and debris.
- Sand the surfaces: Use your manual sanding block to smooth down all edges and flat surfaces. Always sand in the direction of the wood grain to avoid leaving unsightly scratches on the wood.
- Assemble the front and top: Apply a thin, even bead of wood glue along the top inside edge of the front face plate. Press the top board against it at a perfect 90-degree angle.
- Secure with finishing nails: Carefully tap finishing nails through the top board and into the front plate using your claw hammer. Space the nails about 4 inches apart. Wipe away any squeezed-out glue immediately with a damp cloth.
- Attach the bottom and side caps: Repeat the gluing and nailing process for the bottom board and the two side end caps. You should now have a five-sided hollow box that is completely open at the back.
- Let the glue dry: Place the assembled shelf sleeve in a safe area and let the wood glue cure completely for at least 2 to 3 hours before attempting to handle, paint, or stain it.
How to Mount the Shelf Safely Without a Drill
Mounting a heavy object securely usually involves a power drill, but you can easily substitute this step with manual hand tools if you select the right wall-anchoring hardware.
| Mounting Hardware | Best Wall Type | Maximum Load Capacity | Tool Required |
|---|---|---|---|
| Manual Self-Drilling Anchors | Drywall (no stud) | 20 to 50 lbs | Phillips Screwdriver |
| Heavy-Duty Wall Nails | Drywall into Wood Studs | 30 to 40 lbs | Claw Hammer |
| Toggle Bolts (Manual Threading) | Hollow Drywall | 50 to 100 lbs | Screwdriver & Manual Awl |
To mount the support cleat (the solid wood piece that fits perfectly inside your hollow shelf sleeve):
- Locate the mounting area: Hold the solid wood mounting cleat against the wall where you want the shelf to hang. Use a spirit level placed on top of the cleat to ensure it is perfectly horizontal.
- Mark the anchor points: Use a pencil to mark through the mounting holes of your cleat. If your cleat does not have holes, you can easily tap a finishing nail through the wood manually to create pilot holes before holding it against the wall.
- Install the drywall anchors: Press the sharp tip of a self-drilling drywall anchor directly onto your pencil mark on the wall. Turn it clockwise with your manual screwdriver while applying firm forward pressure. The anchor will easily bite into the drywall and thread itself flush with the wall surface.
- Fasten the cleat: Align the wooden cleat over the wall anchors and drive the mounting screws through the cleat and into the anchors using your manual screwdriver. Tighten until snug.
Sliding and Securing the Shelf Sleeve
Once your wooden support cleat is firmly anchored to the wall, installing the actual shelf sleeve is incredibly simple and satisfying.
Slide the hollow box over the wall-mounted cleat. It should fit snugly over the wood. If the fit is very tight, gently tap the front of the shelf with a hammer, placing a scrap piece of wood or a folded towel over the shelf to prevent denting or marking the finished wood surface.
Always secure the top of the shelf sleeve to the wooden wall cleat with two small finishing nails to keep the shelf from accidentally sliding forward over time.
Common Mistakes to Avoid
- Skipping the manual sanding process: Without power sanders, it is tempting to rush this step, but manual hand-sanding is crucial for a professional, splinter-free finish.
- Over-tightening manual anchors: When using a hand screwdriver, stop turning the moment the drywall anchor is flush with the wall to avoid stripping the drywall core.
- Ignoring weight limits: Non-drilled anchors are highly stable but have lower overall weight capacities than heavy-duty toggle bolts. Keep your display decor relatively light.
- Not using a stud finder: Even when working without power tools, finding a wall stud to nail or screw into directly is always the safest and strongest option for home organization.
How to Finish Your Shelf Professionally
Without power sprayers or electric orbital sanders, you can still achieve a gorgeous finish using simple manual application techniques.
- Wood Stain: Apply a liquid wood stain using a clean, lint-free cotton cloth or rag. Wipe it on, let it sit for a few minutes to penetrate the wood fibers, and then wipe off the excess stain with a clean cloth.
- Clear Protective Coat: Protect the stained wood using a simple wipe-on polyurethane finish or a natural beeswax polish applied with a soft cloth.
- Chalk Paint: For a rustic, matte look, apply two coats of chalk paint with a standard synthetic paintbrush. Sand very lightly between coats with fine-grit sandpaper for an ultra-smooth texture.
Frequently Asked Questions
Can you hang a floating shelf on drywall without studs?
Yes, you can hang a floating shelf without studs by using self-drilling drywall anchors or heavy-duty toggle bolts. These specialty anchors expand behind the drywall to distribute weight evenly and can be installed entirely by hand using a manual screwdriver.
How much weight can a hand-installed floating shelf hold?
A floating shelf mounted with manual drywall anchors can safely hold between 20 and 50 pounds, depending on the specific rating of the anchors used. To maximize the weight capacity, always try to align at least one mounting screw directly into a wooden wall stud.
Do I need a hand saw to build this floating shelf?
No, you do not need a hand saw if you plan ahead. Most local home improvement and lumber stores will cut your wood boards to your specified dimensions for free or a nominal fee when you purchase the lumber.
Conclusion
Building a floating shelf without power tools is a simple, rewarding DIY project that anyone can complete with basic hand tools. By assembling a simple hollow wooden sleeve with wood glue and finishing nails, and mounting it with manual drywall anchors, you can add functional, elegant storage to any room in your home. Take your time with manual sanding and leveling to ensure a sturdy, professional-looking result.


